How to clone a PC and boot it into a virtual machine
20 juin 2021 · 3 min read
Backing up a complete computer and booting it into a virtual machine is possible with just a few Linux commands. The tools are free and open source.
You will need :
ddfor an uncompressedrawcopy (installed by default on all Linux systems)- or
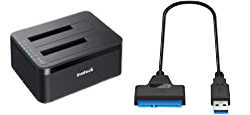
ewfacquirefor a compressed copy in EncaseE01format xmountto convert the image to a virtual machine hard disk- a dock or an adapter (SATA, IDE…) to connect the disk to clone to your computer. If you need to make a copy that preserves the integrity of the digital evidence, this material must include a write blocker.
Installing the tools
Ubuntu
sudo apt install ewf-tools
sudo apt install xmount
Arch Linux
sudo pacman -S libewf
yay -S xmount
Copy the disk
Take out the hard drive you want to clone of the computer. Plug it into the dock or an adapter and connect it to your computer. To identify it, use one of the following commands :
sudo fdisk -l
sudo blkid
lsblk
The device is named for example /dev/sdc. You can clone this disk in a compressed or uncompressed format.
Uncompressed format
To create the image.dd file, replace /dev/sdX with your source device :
sudo dd if=/dev/sdX of=image.dd bs=4096 conv=noerror,sync status=progress
sha1sum /dev/sdX image.dd > sha1.txt
The parameters are :
if: input fileof: output filebs: block sizenoerror,sync: synchronize input/output and continue in case of error
The sha1sum command calculates the digital fingerprints of the source and the copy to check that they are identical.
Warning ! do not invert if and of or you will erase the source disk !
Compressed format
To create the image.E01 file, replace /dev/sdX with your source device :
sudo ewfacquire /dev/sdX -c best -d sha1 -S 1T -t image
The parameters are :
-c: best compression-d: compute the sha1 at the end, in addition to the md5-S: split the image into several 1TB files-t: target, destination file
To get information about the copy made, type ewfinfo image.E01.
To verify the image, the command is ewfverify image.E01.
Virtualization
Creating a VDI disk
To create a VirtualBox compatible VDI hard disk :
# First, create a folder for mounting the VDI image
mkdir ~/myvdi

# If you have a RAW (dd) image
sudo xmount --in raw image.dd --cache cachefile --out vdi ~/myvdi

# If you have an E01 image
sudo xmount --in ewf image.E?? --cache cachefile --out vdi ~/myvdi
An image.vdi file is created instantly in your /home/user/myvdi folder.
The cachefile created in the current directory will serve as a cache for VirtualBox to write all the system modifications. Indeed, the original RAW or E01 image will never be altered.
The wildcard ?? is useful in case the image is split into several files.
If needed, to unmount the mount point, just type sudo umount ~/myvdi.
Creating the virtual machine
Start VirtualBox and create a new machine. At the Hard Disk wizard step, choose Existing Hard Disk and select the newly created VDI hard disk.
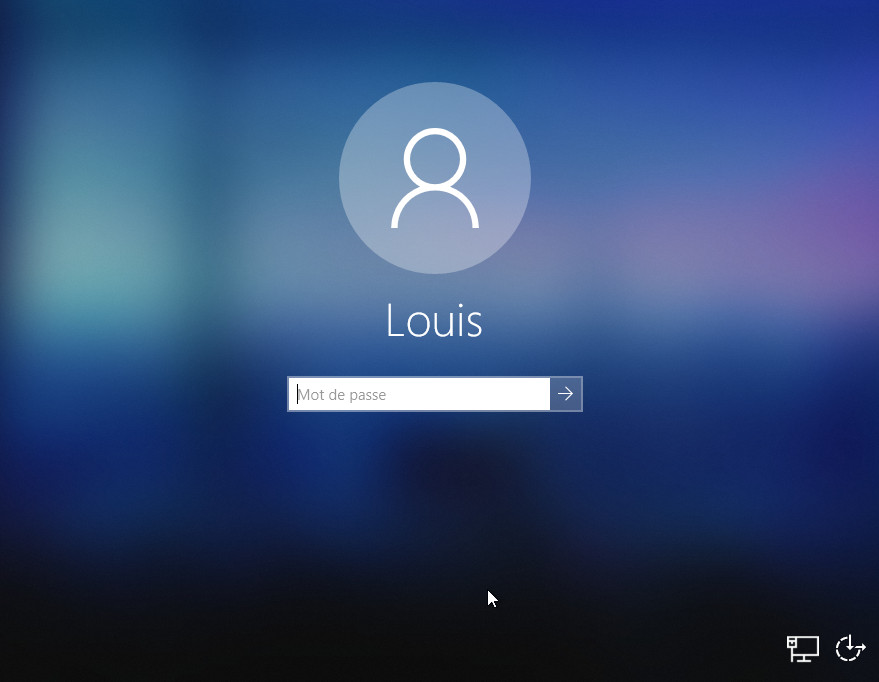
If the copied system is recent, in the virtual machine settings, in System / Motherboard, check Enable EFI.
You can then start the virtual machine.